Itsss Ba-aack…….
Well – it has been some time and I am FINALLY getting around to this. So many projects and so little time. Both bands have been slow as of late – so I find myself with the time to start doing stuff.
Just to summarize to date. I used the Carvin neo speakers at a job and they failed to handle higher volumes w/o farting out. The suspension is not tight enough for a big well vented cab. I then dropped in a set of older 400 watt Carvin PS15s. Now, one has to be careful here as over the years this speaker really differs. These are the last that Carvin carried that still had the big label on the back – and also Eminence made. The suspension is incredibly stiff. The also have the ribbed surround and not the foam of the earlier PS15. When I put these in the Sunn the cab just roared to life! It was amazing at how much tone and dispersion of the sound suddenly happened. Strong tight lows and bright enough not to need a tweeter. I love these speakers – wish I could find more.
The next job was at a place where we get pretty freagin’ loud. The stage is heavily carpeted under and behind and some cabs do not project well. The Sunn did fine and filled the room nicely. I noticed that the low end tended to be a bit heavier on tne side of the room opposite of the port. Due to the cab configuration or the room? Someday I need to experiment. My lead player is a fellow gear slut and we are always surprising each other with something new. He saw the cab and sid – hey that is pretty!
It sounded nice. Not quite as articulate as the 406W (with same speakers) but had an easier time chucking low end. I had gotten through half the night when suddenly disaster struck! I suddenly got a vibrating sound. It sounded like an impact drill or jack hammer. Horrid. It sustained for a few beets and I had to stop playing a split second to get it to stop. I babied it for the rest of the job. This was not ready for prime time.
When originally made – this cab was rated at 160 watts. I took it to 800. That and I tend to pin the 31HZ slider. The cab is not the best made using nails, staples, and not enough screws or enough glue. Time to firm it up – a lot! Back to the workshop! Better yet – time to tinker – (evil Dr laugh sample now played) Whah-hah-hah…
Out came the speakers and returned to the Acoustic 406wide that was their original home. They are gonna stay there. I will find more for Mr. 215B.
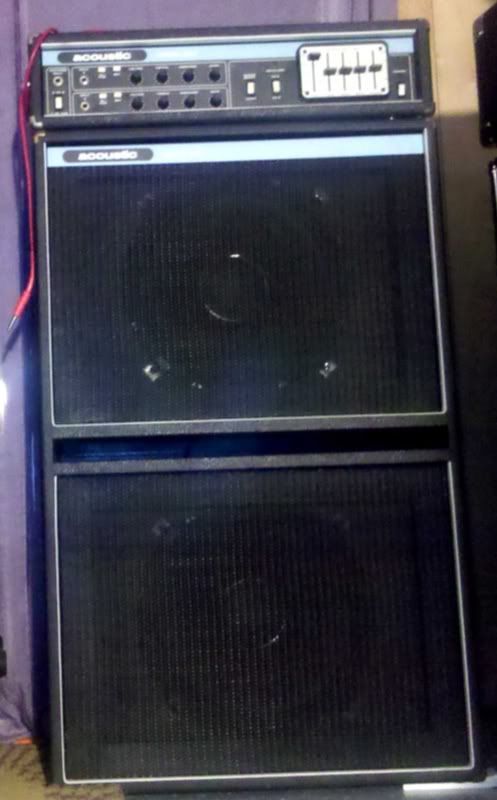
An examination of the cab at first turned up little until I started “Thinking Like a Speaker” in how I might vibrate wood. Then I found these areas:
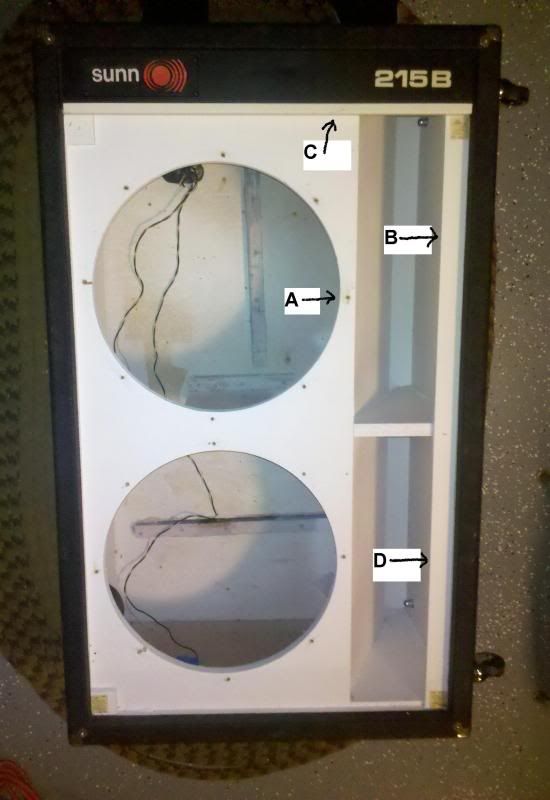
A – This screw that holds part of the speaker also doubles in reinforcing the front baffle to the angular vent plate behind it. It may not have been intended that way – but it works out that way.
B - The wood lip or edge that covers a part of the front vent is loose. It has always wiggled slightly but now the upper section is much looser. Behind it there is now a layer of something detached from the main cab. I can’t see it but it might be a wood slice the length of the upper half vent and about 1/2” wide.
C – There are multiple layers of wood up here. Some can wiggle about a bit.
D – This still has a slight play similar to how the top half used to be.
I remember once a guy that once mentioned something about old stuff – in this case older cars. It seems that the machine gets a “Balance” as it ages. Replace one part with a new stronger one and then some of the other parts are not in balance and may soon fail. I am not sure if that is really true with cars – but suspect it true with this cab. If I shore up some areas then other areas will be the week link and fail. So, I will repair the loose areas but also reinforce other joints that are similar in construction and stress.
They say that the prep is much of the work. It takes a while but I secure wood and reinforcers – and start to accumulate tools about my little work-site. Better too much than too little – especially with the bulk pricing.

Screws will be used not just to attach the metal braces but also reinforce the seems in the cab. Though the screws are self tapping the wood is very dry and hard. I don’t want to crack it so I will drill started holes for all screws. The Dremel really aids work as it can snake about in the cab and also I don’t need to keep changing from drills bits to screw driver bits on the drill.
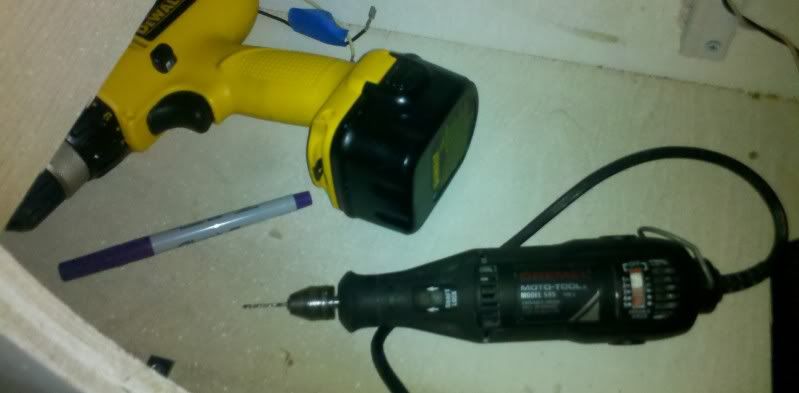
It gets really crowded in here! Sometimes the bending electric screw driver helps.
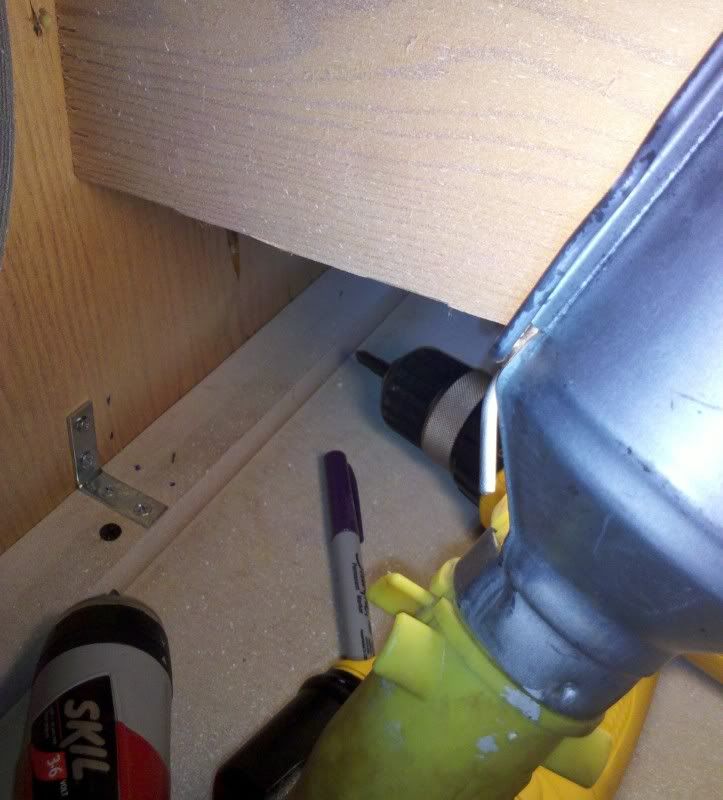
One complete brace. Notice that I not just secure the corners – but also with another screw the join of the wood to the piece under it. I have no idea how well that seam was made either. Construction of the cab is staples and nails and it seems not enough glue.
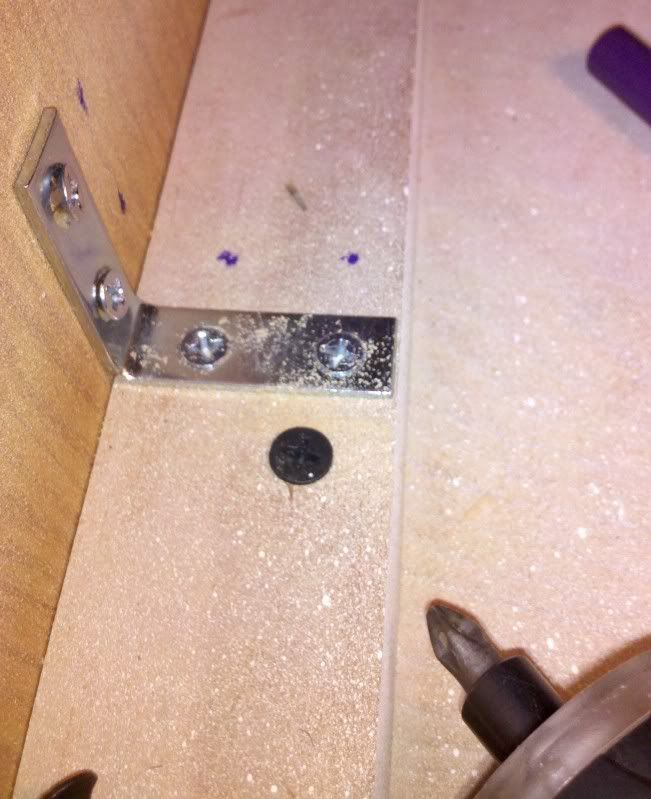
Right now I am on section C. Finally have two done. I will need a third on this side. Work is very slow and tedious – though I am improving some. You need to take the time to get it right the first time. The hard angle makes the two screws on one side look loose – but they are in as tight as I want to force them before I might strip the wood.
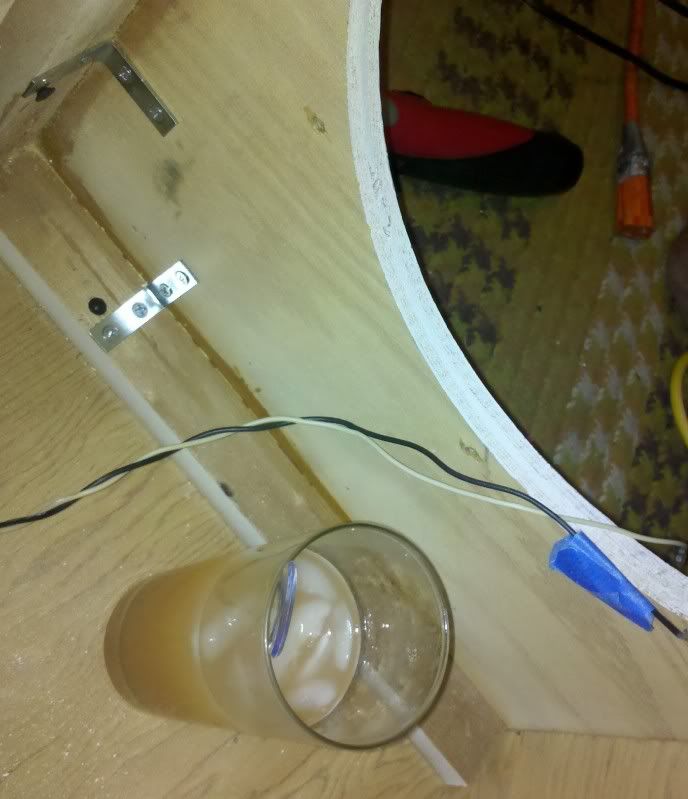
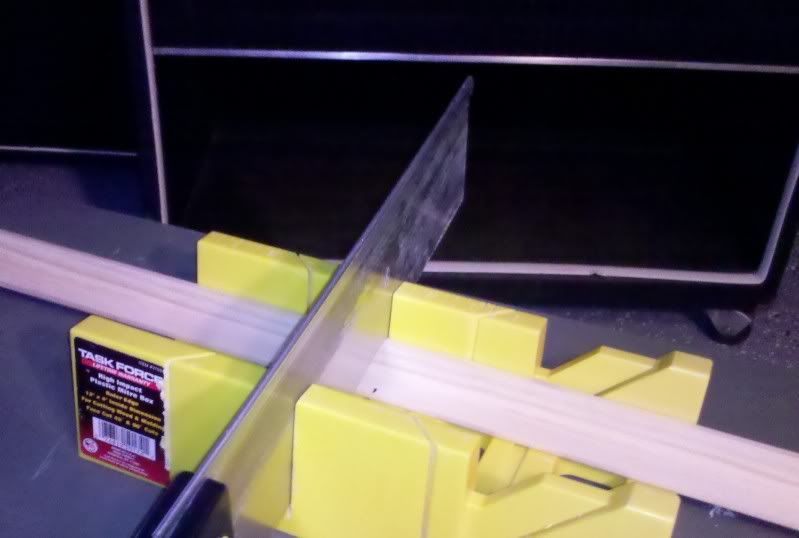
I decided to go nutso and add some wood bracing. It looks like Mr. Miter Box has to get dug out and returned to service.
This is one section of where the top of the cab is constructed now. I only added the wood bracing to where the back plate meets up with the top. I hope that will be enough. Lots of glue.
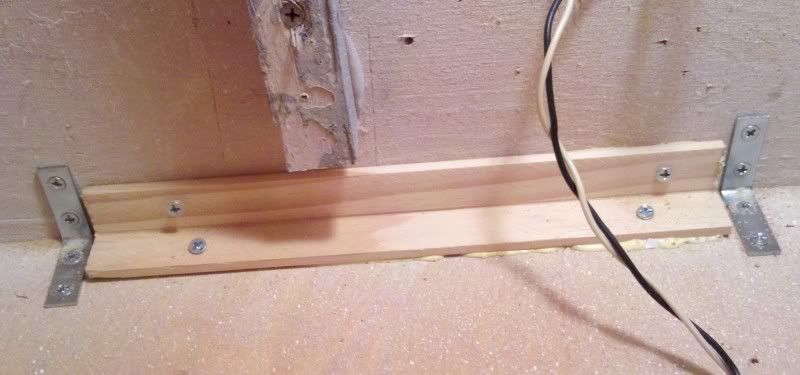
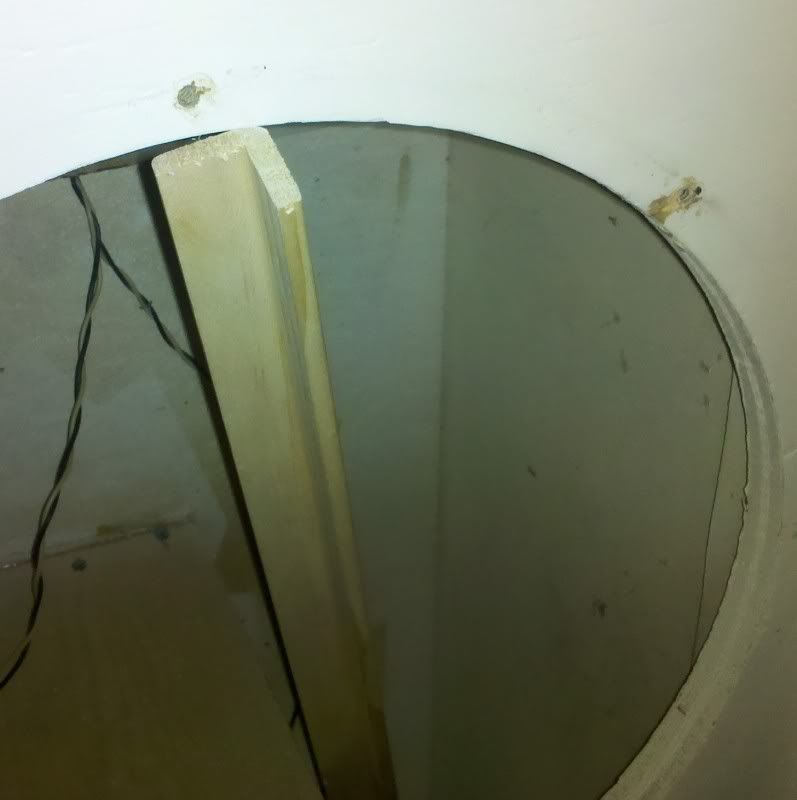
Opposite of the long side with the port I will add a wood brace. I cut it to the perfect length but the freagin thing won’t fit in! Just by a nudge! Curse you Mr. Nudge!
Ugh - it may not seem this way - but sometimes the job is the least of the work. Shooting the pics, editing them, post online, write the stuff, correlate pics to writing, and then the posting process. This taes time - and accuracy. Back when I get more done!!!!!!!
Best,
- Ziggy -